Appearance
8. Project Attributes
8.1. What are Project Attributes?
Project attributes store project level information, for example Diagnostic Status. Information for individual samples in the project use Sample Attributes discussed in Section 9. Project attributes come in two types:
Private attributes are only available in the project they were created in. They will not be accessible to collections the project is in.
Public attributes are typically created in the Public Attributes or a template project and can then be imported into any other project. Public attributes are visible in collections and so are useful for comparing values across projects. When a template is applied to a project (which automatically happens when a project is created inside a collection with an associated template), all public attributes in the template are imported into the newly created project
8.2. Where Should Project Attributes Be Created
Private Attributes only exist in the project they were created in, so must be created in the project where they are to be used. Generally, project attributes need to be shared across projects and so need to be public. It is recommended that all public attributes be created in a Public Attributes project (this project exists to house attributes that are likely to be useful to all projects in Mosaic), or in a template project. For example, if we have a Cardiology collection that houses projects for patient with cardiac phenotypes, we would likely create a template project that is associated with this collection. In this case, we might create a Cardiac Phenotype project attribute in this collection. All projects in this collection would then have this attribute available
8.3. Create a Project Attribute
To create a project attribute, select Project Attributes from the left menu of the project the attribute should be created in. From the Actions menu, select Create Project Attribute. This will bring up a form with a number of fields that require populating:
Name & Description
Attribute Name: you must provide a name for the attribute. Being concise, but descriptive is recommended
Attribute Description: you can optionally provide a description of this attribute
Options
Editable Attribute: by default this is checked which means that people will be able to edit values associated with this attribute. If deselected, users will not be able to edit this attributes values
Public Attribute: if checked the attribute will be public and so can be imported into other projects. If not selected, the attribute will be private and only available in the current project
Longitudinal Attribute: by default, attributes take a single value. If this is checked, the attribute will be longitudinal which means that it can take multiple values, each of which will have a time. For example, if the attribute is for tracking a patient's height over time, we would use a longitudinal attribute
Data Type & Predefined Values
Data Type: you will need to choose a data type, e.g. whether this is a text, number, or time attribute
Predefined values: these are used with text attributes to provide users with a set of values to choose from. For example, if the attribute being created is Diagnostic Status, there could be some standard values that should be selected from, e.g. Undiagnosed, Tentative, Diagnosed.

Figure 8.1. Defining predefined values for a new project attribute. To add new values, type the desired value, hit Enter and the value will will turn into a badge
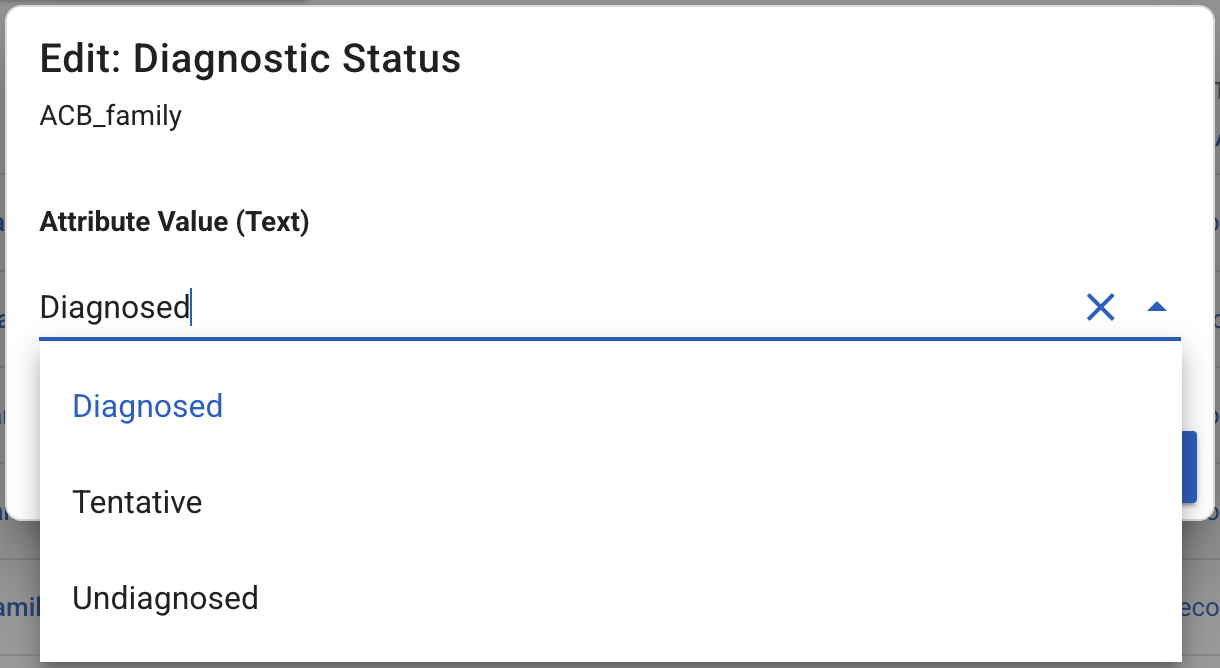
With predefined values set, when users edit a project attribute in a project, these values are always available to be selected from:

Figure 8.2. Using predefined values in a project. When a user clicks to edit a text attribute, they can select from all predefined values
Value(s)
A value can be set for the attribute when created. If this is a public attribute, it will have a value in each project it appears in and so it is typical to leave this blank
8.4. Pin a Project Attribute to Project Home
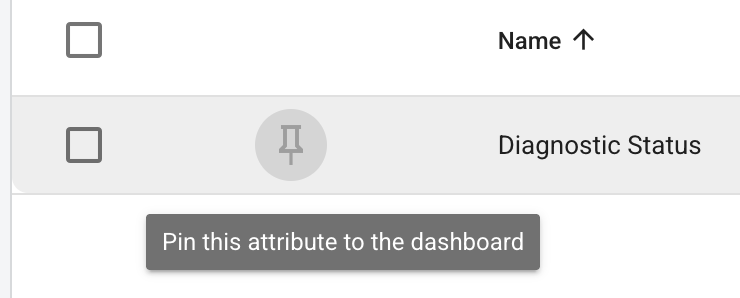
A pinned project attribute will appear as a badge at the top of the project homepage. To pin a project attribute, go to the Project Attributes tab on the project homepage and find the attribute to pin in the table. At the left of the attribute row, select the pin icon.

Figure 8.3. Pin a project attribute to the project homepage
When selected, there are two options: Pin value to dashboard and Pin name:value to dashboard. If the value is self-explanatory, only the value needs to be pinned, but including the attribute name can add clarity to the resulting pinned badge:
8.5. Import Project Attributes
When a template is applied to a project, all public attributes in the template will be imported into the target project, but additional project attributes can be imported on an ad hoc basis. From the Project Attributes tab on the project homepage, select the Actions button and click Import Public Project Attributes. The table of all available attributes will have a blue checkmark at the far right of a row if the attribute is already in the project. Otherwise, click on + Add to Project to import the attribute.
